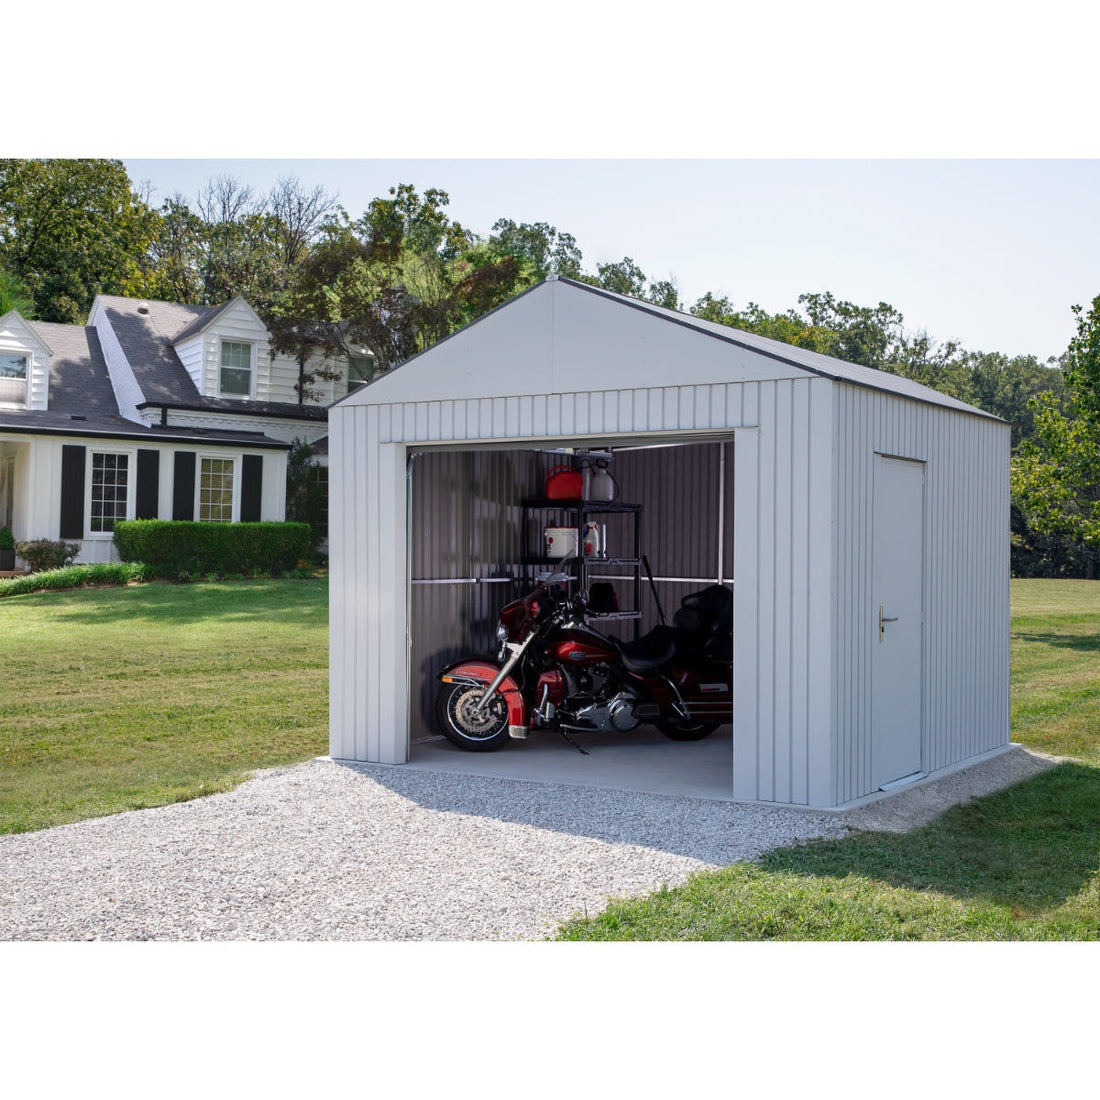
Hello, all you cozy-seeking, shed-loving folks out there! So you've got yourself a beautiful shed, and now you're wondering how to make it an all-seasons sanctuary, right? I mean, why should our sheds be limited to summer barbecues and spring gardening sessions? Today we're diving into the transformative power of insulation. Get ready to turn your shed into a year-round haven!
Why Insulate?
The benefits of insulation go beyond the winter months. Sure, it keeps you warm when the snow falls, but it also makes your shed cooler in the scorching heat of summer. Plus, it can reduce moisture, making your shed more durable and your tools less prone to rust.
1. Choose the Right Insulation Type
First things first, let's talk insulation types:
- Fiberglass: The classic choice. It’s affordable and works well, though you need to handle it with care (no one wants itchy arms).
- Foam Board: Great for thin walls where you might not have much space. It's also easier to install than fiberglass.
- Spray Foam: Though pricier, it’s excellent for getting into every nook and cranny.
2. Prepping the Area
Before you install anything, make sure the inside of your shed is clean and dry. The last thing you want is to trap moisture behind your insulation, creating a five-star hotel for mold.
3. Seal the Cracks
For an airtight space, seal all cracks and openings with caulk or foam sealant. You'd be surprised how much of a difference this can make in keeping your shed's interior temperature stable.
4. Let's Get Insulating!
Once you've chosen your insulation type, it's time to put it up. If you're using fiberglass, make sure to secure it well and cover it with drywall or plywood for added safety and durability. If you're going with foam board, you can usually just adhere it to the wall. For spray foam, it's often best to consult a pro unless you're very comfortable with DIY projects.
5. Floors and Roofs Need Love, Too
Many folks forget about the floor and roof, but insulating these can actually make a massive difference in temperature control. Foam boards work well for flooring, while fiberglass is often the go-to for roofs.
6. Ventilation is Key
Yes, we’re making the space airtight, but you still need some ventilation to control moisture. Make sure to include a vent space where the roof meets the walls.
7. Heating and Cooling Systems
For the ultimate in comfort, you might consider adding a small HVAC system or a simple space heater or fan. Just be sure to follow all safety guidelines when installing these.
8. Test and Enjoy!
Once everything is set up, spend a day or two testing out the insulation. Make adjustments as needed. Now, make yourself a cup of hot cocoa or iced tea—depending on the season—and revel in your newly insulated, year-round paradise.
Your shed has the potential to be so much more than a summer storage space or a winter wasteland. With some good insulation, you're not just making a shed; you're creating a sanctuary for all seasons.
So, what are you waiting for? Let's bring that dream to life!

